Find the Best Garbage Disposal Service Companies for Your Business
No obligation • Fast responses • Nationwide coverage
Why you can trust Search a Plumber
Search a Plumber is a leading United States resource for finding and evaluating professional plumbing services. Our team researches licensing, experience, and customer feedback to create unbiased, fact-driven overviews. Companies cannot pay to change ratings or placement, ensuring homeowners get trustworthy information.
Search providers near you
Top Garbage Disposal Service Companies in Paramount, California Ranked
A functional garbage disposal is a key component of a modern, efficient kitchen, making cleanup faster and more hygienic. When your unit fails or you're upgrading your sink, professional repair or installation ensures the job is done safely and correctly, preventing leaks, electrical issues, and future clogs. This guide provides detailed information to help Paramount homeowners understand their options, from selecting the right unit to navigating the installation process, so you can confidently connect with qualified local specialists for your project.
Dymek's Freedom Plumbing, Inc
2921 E Miraloma Ave #17, Anaheim, CA 92806
Dymek's Freedom Plumbing, Inc is a plumbing service provider based in Anaheim, CA, offering a wide range of residential and commercial plumbing solutions. Their services include sewer camera inspections, water heater installation and repair, drain cleaning, hydro jetting, trenchless sewer repair, leak detection, repiping, and garbage disposal repairs. They utilize advanced technology such as electronic slab leak detection and sewer video inspection to diagnose and address plumbing issues efficiently. With over 25 years of experience, the company emphasizes old-fashioned values combined with modern technology and is available 24/7 for emergency plumbing needs.
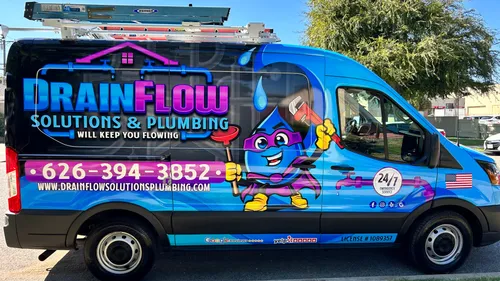
Drainflow Solutions & Plumbing
454 Shrode Ave, Duarte, CA 91010
Drainflow Solutions & Plumbing offers a wide range of plumbing services in Los Angeles, CA, including water heater repair, tankless water heater service, drain cleaning, sewer line repair, leak detection, toilet repair, and garbage disposal repair. The company serves residential and commercial clients throughout the San Gabriel Valley and surrounding areas. They provide specialized capabilities such as Navien-certified tankless water heater repairs and 24/7 emergency plumbing services. Drainflow Solutions & Plumbing has built a reputation for honest, transparent pricing and personalized plumbing solutions tailored to each customer's needs.

SoCal Plumbing & Rooter Inc.
420 W Lambert Rd suite f, Brea, CA 92821
SoCal Plumbing & Rooter Inc. is a full-service plumbing company serving Anaheim, CA, and the surrounding Orange County area. They provide a wide range of plumbing services including sewer camera inspections, water heater repair and installation, drain cleaning, hydro jetting, leak detection, repiping, gas line installation, and sewer line repair with trenchless methods. The company offers 24/7 emergency plumbing services to address urgent issues such as burst pipes, overflowing toilets, and sewer backups. Their expertise includes advanced leak detection and hydro jetting to clear stubborn clogs and maintain plumbing system efficiency. SoCal Plumbing & Rooter Inc. is fully licensed and insured, committed to meeting industry standards and local codes.
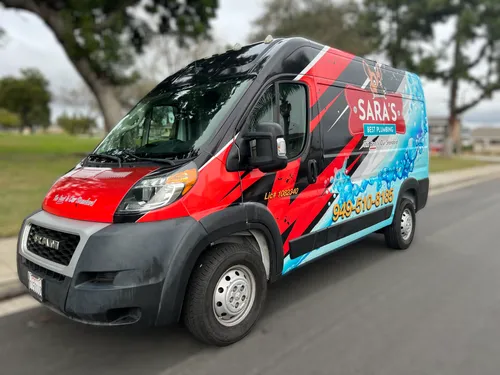
Sara's Best Plumbing
4454 W Cerritos Ave, Los Alamitos, CA 90720
Sara's Best Plumbing is a family-owned plumbing company serving Los Angeles, CA, and the surrounding Southern California communities. Established in 2022 with over 14 years of experience, they provide a wide range of plumbing services including sewer camera inspections, water heater repair and installation, drain cleaning, leak detection, repiping, gas line installation, and garbage disposal repair. The company is known for handling both emergency and planned plumbing projects with a focus on clear communication and customer care. They also offer specialized services such as water filtration system installation and gas line safety work. Sara's Best Plumbing operates with industry-leading warranties and offers 24/7 emergency services to ensure reliable support whenever needed.

Camco Rooter
249 W 13th St, San Pedro, CA 90731
Camco Rooter is a plumbing company serving Long Beach, CA, and the surrounding South Bay area including San Pedro. They offer a wide range of plumbing services such as sewer camera inspections, drain cleaning with hydro jetting, water heater repair and installation for both tank and tankless systems, sewer line repair including trenchless methods, leak detection, and repiping. Their team serves both residential and commercial clients and uses advanced diagnostic tools to accurately identify plumbing issues. Camco Rooter has been serving the community for years and provides 24/7 emergency plumbing services to address urgent problems at any time.
Understanding Garbage Disposal Power and Size
Choosing the correct horsepower (HP) for your household is the first step toward a reliable installation. The power rating directly correlates with the unit's capacity to handle food waste and its longevity.
- 1/3 HP (Basic): Suitable for a single person or a very small household with light use. It handles soft food scraps but can struggle with fibrous vegetables or small bones.
- 1/2 HP (Standard): A good fit for most small to medium-sized families. This is the most common choice, offering a balance of power and value for everyday kitchen cleanup.
- 3/4 HP (Heavy-Duty): Ideal for larger families, frequent cooks, or those who process a lot of vegetable matter. This size provides more torque and can handle tougher food scraps more efficiently.
- 1 HP+ (Premium/Commercial-Grade): Designed for large families, frequent entertaining, or the highest performance. These units can process most food waste quickly and are built for durability under heavy use.
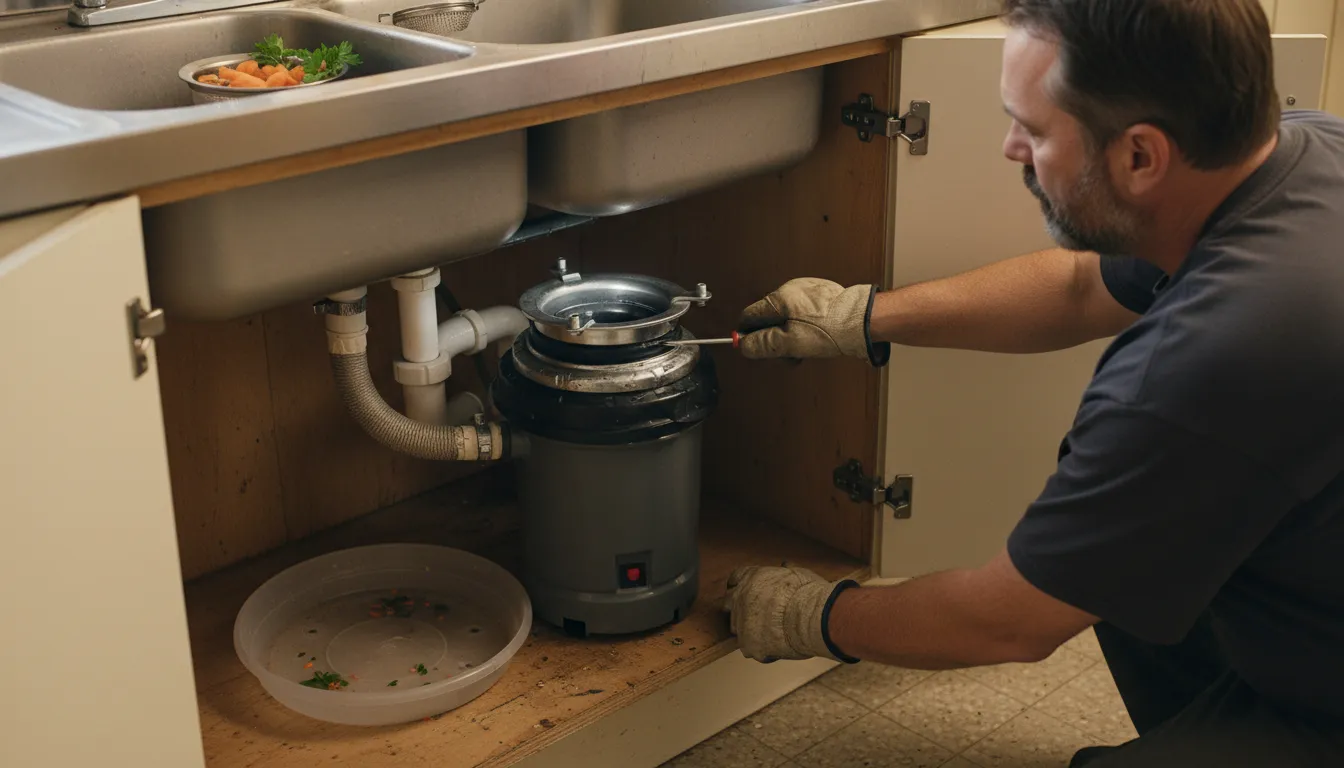
The Professional Installation Process
A proper garbage disposal installation in Paramount involves more than just swapping an old unit for a new one. It's a precise task that integrates plumbing, electrical, and mechanical components. Here's what a professional service typically entails:
- Safety & Removal: The technician will first ensure power is completely shut off at the circuit breaker. The old unit is disconnected from the sink flange, drain pipes, any dishwasher hose, and its electrical supply.
- Sink Preparation: The old mounting assembly is removed, and the sink opening is thoroughly cleaned. New plumber's putty is applied to create a watertight seal when the new mounting flange is set in place and secured from below.
- Mounting & Connections: The new food waste disposer is mounted to the flange. The technician then reconnects the drain lines, ensuring the P-trap is correctly aligned to prevent leaks and odors. If applicable, the dishwasher drain hose is attached to the disposal's dedicated inlet.
- Electrical Hookup: This critical step involves connecting the unit to a dedicated, grounded electrical circuit. If an outlet already exists under the sink, it may be a simple plug-in. If hardwiring is required or a new circuit is needed, this is where a licensed professional's expertise is essential for safety and code compliance.
- Testing & Inspection: Finally, the power is restored, and the unit is tested with cold water running. The technician checks for leaks at all connections, verifies proper operation, and may provide basic care instructions.
Key Considerations for Your Installation
Before scheduling your service, a few factors can influence the complexity and cost of the job:
- Plumbing Compatibility: The existing drain pipes must align with the new disposal's outlet. A professional will ensure the P-trap is configured correctly to maintain the necessary water seal.
- Dishwasher Connection: If you have a dishwasher, the disposal must have a port for its drain hose. Connecting it properly prevents backflow into the dishwasher.
- Electrical Requirements: Most disposals require a dedicated 15- or 20-amp circuit. An upgrade from an older model might necessitate new wiring or the installation of a GFCI outlet under the sink, which may require an electrician.
- Cabinet Space: High-horsepower and continuous-feed models can be bulky. It's important to verify there is adequate clearance within your sink cabinet for the unit and its connections.
Cost Overview for Paramount Homeowners
Understanding the potential investment helps in planning. Costs can vary based on unit choice, labor complexity, and any necessary upgrades to plumbing or electrical systems.
- Unit Cost: The garbage disposer itself ranges from around $80 for a basic model to over $500 for a high-end, heavy-duty unit.
- Labor for Replacement: For a straightforward swap-out where the existing connections are compatible, professional labor often falls between $150 and $350. If the job is more complex-involving new plumbing lines, electrical work, or a difficult removal-labor can range from $200 to $550 or more.
- Total Project Cost: Combining unit and labor, a typical professional installation in Paramount can range from approximately $300 to $800 on average, with simpler jobs on the lower end and complex installations with premium units reaching $850+. 1 2
Note: Prices are subject to fluctuation based on market conditions and specific home requirements. It's always recommended to get detailed quotes from local professionals for your exact situation. 3 4
Find the perfect garbage disposal service companies for your needs
Get personalized recommendations and expert advice
Common Repair Issues and Troubleshooting
Even the best disposals may need occasional repair. Knowing common symptoms can help you describe the issue to a technician.
- Disposal Won't Turn On: This is often an electrical issue. It could be a tripped circuit breaker, a faulty wall switch, a jammed unit (which triggers an internal overload reset), or a problem with the unit's motor. A professional can safely diagnose the cause.
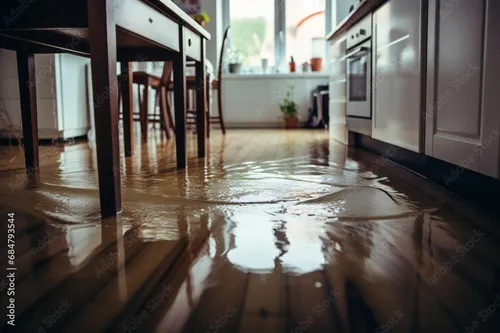
- Leaking Under the Sink: Leaks can originate from several points: the sink flange seal, the dishwasher hose connection, the main housing seal, or the drain pipe connections. Identifying the exact source is key to a proper repair.
- Unusual Noises or Vibrations: Grinding, rattling, or loud humming usually indicates a foreign object (like a utensil) inside the grinding chamber, loose components, or failing grinding elements. It's important to stop use immediately to prevent further damage.
- Persistent Clogs or Slow Drainage: While disposals grind food, they don't eliminate the need for proper drainage. Frequent clogs can signal a blockage further down the drain line, a failing unit, or improper use (e.g., putting grease or fibrous foods down the drain).
Benefits of Professional Service vs. DIY
While a skilled DIYer can handle a disposal installation, there are clear advantages to hiring a specialist for this job.
- Safety Assurance: Professionals handle electrical connections and plumbing with expertise, mitigating risks of shock, water damage, or improper venting that could lead to sewer gas leaks. 5
- Code Compliance: Local building codes in Paramount may have specific requirements for electrical circuits, drain configurations, and air gaps for dishwasher connections. A licensed plumber or installer ensures the work meets all standards. 6
- Warranty Protection: Many disposal manufacturers require professional installation to keep the product warranty valid. A DIY install could void this coverage.
- Time and Convenience: An experienced technician can complete the job efficiently, often in 1-2 hours for a standard replacement, and handle any unforeseen complications that could stall a DIY project. 7
- Correct Diagnosis: For repair calls, a professional can quickly distinguish between a simple jam, a mechanical failure, or a related plumbing issue, providing the right solution the first time.
Maintaining Your New Garbage Disposal
Once your new unit is installed, proper maintenance extends its life and keeps it running smoothly.
- Run with Cold Water: Always use a steady stream of cold water before, during, and for about 30 seconds after grinding. Cold water solidifies grease, allowing it to be ground up and flushed away, while hot water can melt it and cause clogs downstream.
- Avoid Certain Items: Do not put fibrous materials (celery, corn husks), expandable foods (pasta, rice), grease/oils, coffee grounds, or non-food items into the disposal.
- Clean Regularly: Periodically grind a few citrus peels or ice cubes to help clean the grinding chamber and sharpen the blades. A mild baking soda and vinegar solution can help deodorize.
- Use It Frequently: Regular use prevents corrosion and keeps internal parts moving freely. Don't let food sit stagnant in the unit.
Frequently asked questions
Sources
Footnotes
-
Kitchen Sink Garbage Disposal: Expert Advice, Costs, and ... - https://larrattbros.com/kitchen-sink-garbage-disposal-expert-advice-costs-and-maintenance/ ↩
-
How Much Does Garbage Disposal Replacement Cost? - Modernize - https://modernize.com/plumbing/garbage-disposal/replacement-cost ↩
-
Garbage Disposal Installation Services - https://www.rapidplumbing.net/garbage-disposal-installation ↩
-
Garbage Disposal Installation Cost Guide - The Home Depot - https://www.homedepot.com/services/c/cost-install-garbage-disposal/357654922 ↩
-
Who Installs Garbage Disposals | Plumber or Electrician? - https://hallerent.com/blog/garbage-disposal-installation-plumber-or-electrician/ ↩
-
Do I Need to Hire a Plumber to Install a Garbage Disposal? - https://www.blazerservice.com/about-us/blog/2024/january/do-i-need-to-hire-a-plumber-to-install-a-garbage/ ↩
-
How To Install a Garbage Disposal in 6 Easy Steps - Lowe's - https://www.lowes.com/n/how-to/install-a-garbage-disposal ↩